Most, if not all, interactions with files on a Mac take place in the dedicated Finder app. Of course, every user knows basic things like “select and copy / paste”. But the Apple operating system offers many other convenient ways to work with files.
BY TOPIC: Continuity: How to start working on iPhone or iPad and continue on Mac and vice versa.
Take, for example, such an operation as selecting multiple files. On macOS, there are four ways to choose what you need at once. The OS supports the following commands:
- Single click on a file single file selection.
- ⇧Shift + click – select multiple files placed sequentially.
- ⌘Cmd + Click – Select any individual files.
- Select All – the name speaks for itself.
Each of the methods above is supported (and likely will be supported) on all versions of the macOS operating system and works in any of the view modes (icon, list, columns, or gallery).
BY TOPIC: How to View Multiple Photos in Quick Look on Mac.
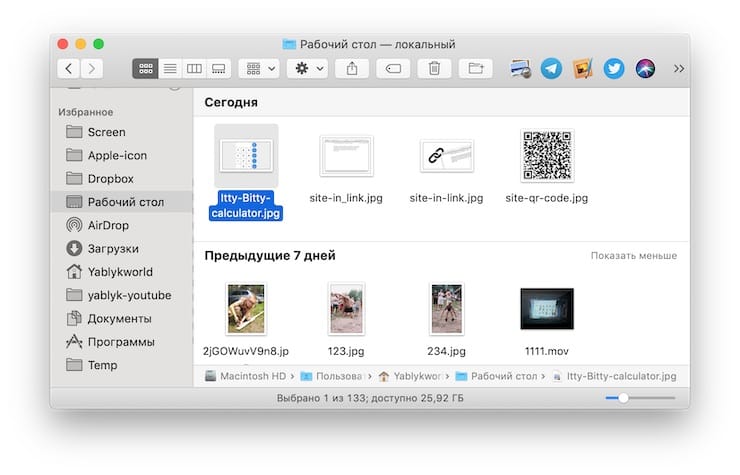
1. Selecting (highlighting) a single file
Everything is simple here (and like in Windows) – to select a specific document, folder, disk or other type of file in the Finder, simply click on it with the mouse. Once.
2. Select (highlight) all files opened in the window
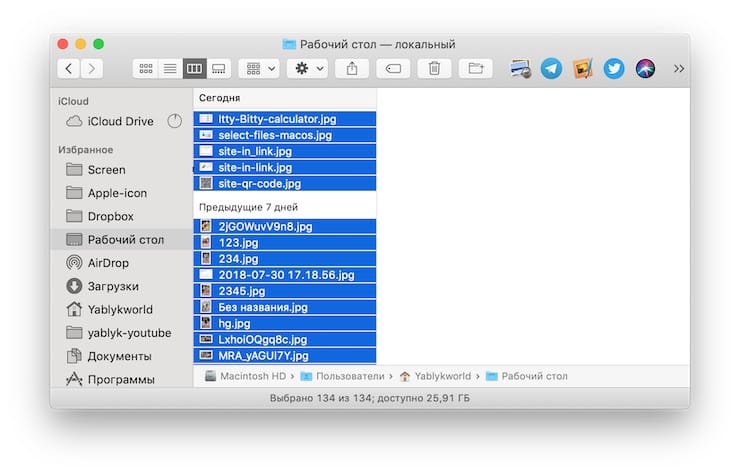
The principle is the same as in Windows – only instead of Ctrl + A, all files are selected by pressing the keys ⌘Cmd+A.
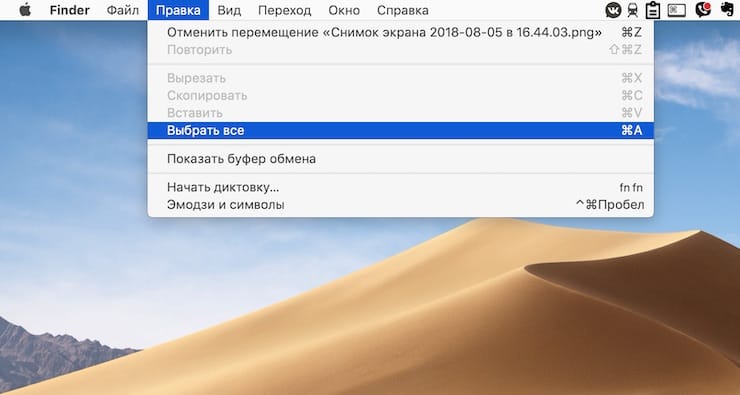
If for some reason this command does not suit you, there is always an alternative in the graphical interface – for this, with the Finder open, click in the menu bar at the top Edit → Select All.
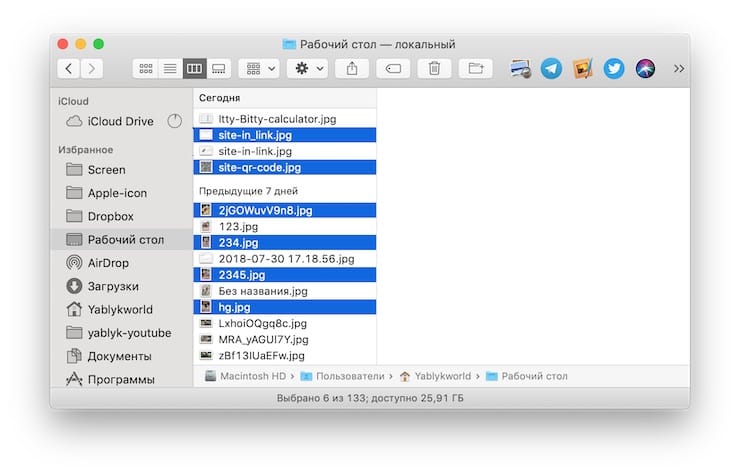
3. Select (highlight) several files that are not located next to each other
All you need to do is hold down the ⌘Cmd button on your keyboard and click on the files you need one by one.
4. Select (highlight) several adjacent files
Click on the first file in the list.
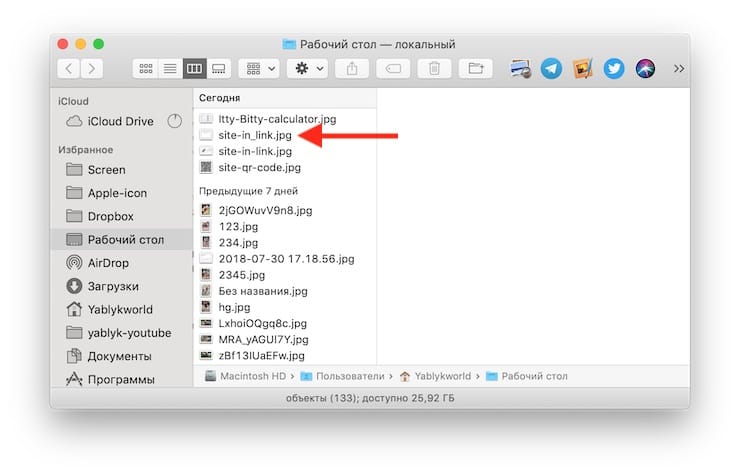
Press and hold the button on the keyboard ⇧Shift.
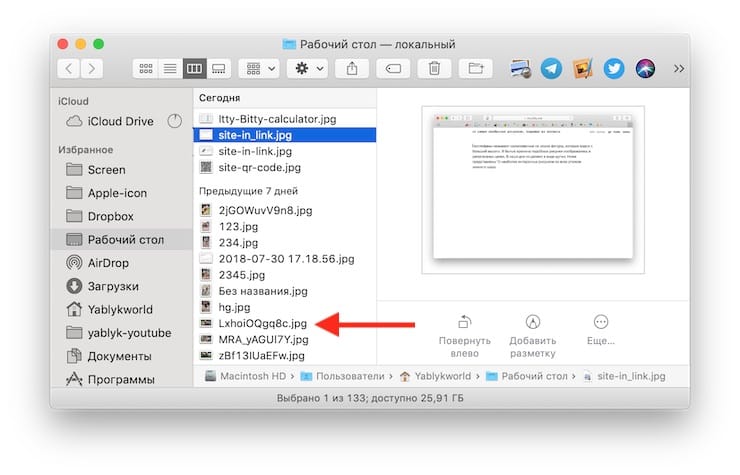
Click on the last file in the list.
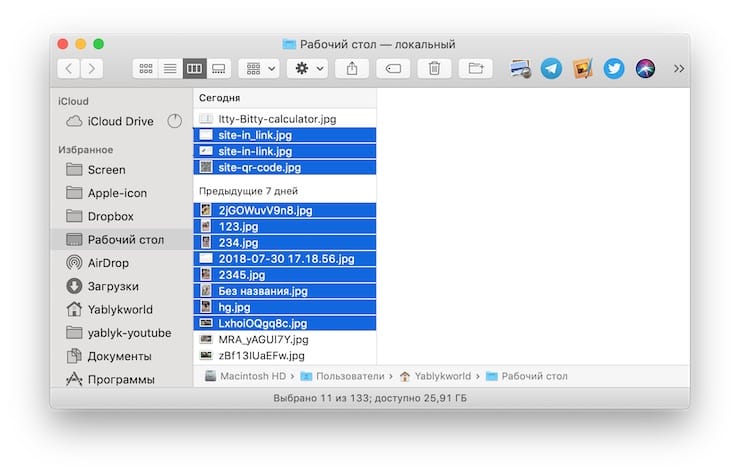
All files between the first and last will automatically be selected.
Note: this method does not work in the Finder when the Icon display mode is selected. To solve this problem, simply switch to the mode List (⌘Cmd + 2) or choose from the menu bar View → List.
You can also use an alternative way – just select the files you need from the first to the last by moving the mouse cursor.
If desired, all these methods of selecting files in the Finder can also be combined with each other. For example: you selected all the files, and then realized that you don’t need two files from the list. What to do? Just hold down ⌘Cmd on your keyboard and click on the files you don’t need. And so on and so forth.
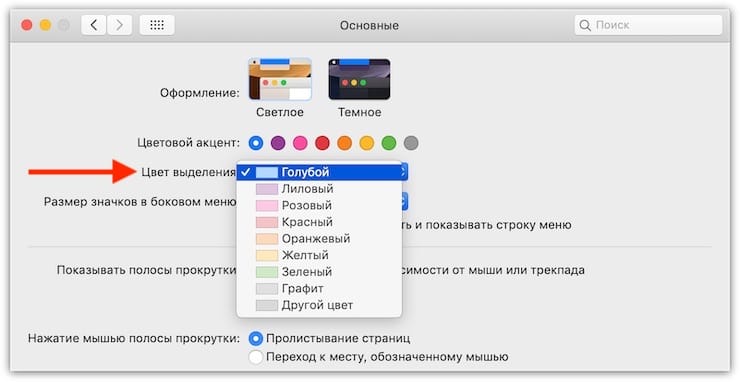
Useful advice: in the Finder, you can change the color of the selection – from the “default” blue to eight others (in fact, even more if you are not too lazy to look for the desired shade in the color palette). To do this, go to System Preferences → General and opposite the inscription Highlight Color click on the drop down menu on the right. Choose the color that you like – this way it will be, if not easier, then definitely more pleasant to work with files.
See also:
.
The post How to select (highlight) files on Mac (macOS): 4 ways appeared first on Gamingsym.
