
The interface of many Mac applications includes a toolbar – gray stripes at the top of the screen with various buttons and a search bar. There is a similar panel in Safari, Mail, iWork applications (Pages, Numbers, Keynote) and in the Finder system file manager. The buttons located on it provide quick access to the most frequently used program functions.
Customizing the toolbar in Finder helps you save time and be more productive. The user can optionally add buttons for functions that he uses most often and that are difficult to access through the menu. You can create a dedicated button for almost all functions from the Finder context menu. Calling functions is much more convenient with one click on a button than with a right-click.
BY TOPIC: How to split and merge tabs in Finder on Mac.
How to Customize the Finder Toolbar
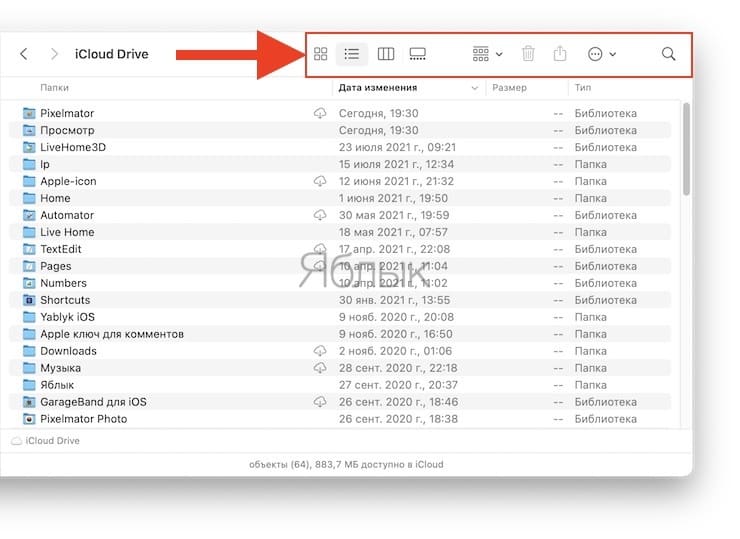
First you need to determine which buttons are already on the toolbar. Buttons are provided by default. “Back” and “Forward”four buttons “View”, “Organize”, “Action”, “Share”, a tag edit button, and a search bar. To reduce the size of the toolbar, just remove some of them. This can be done as follows: press and hold the key Command (⌘), while “pulling” an unnecessary button from the panel. If you want to change the layout of the buttons, hold Command (⌘) and move objects around as you please.
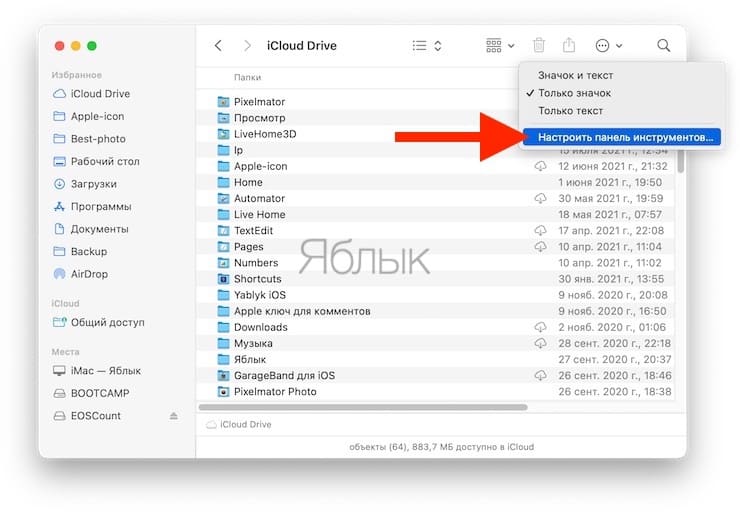
In addition to organizing and deleting, the user can add buttons to the Finder toolbar. For this you need to go to “View” and choose “Customize Toolbar”which presents several buttons for the most frequently used actions (the menu is also called by the right button when clicking on the toolbar).
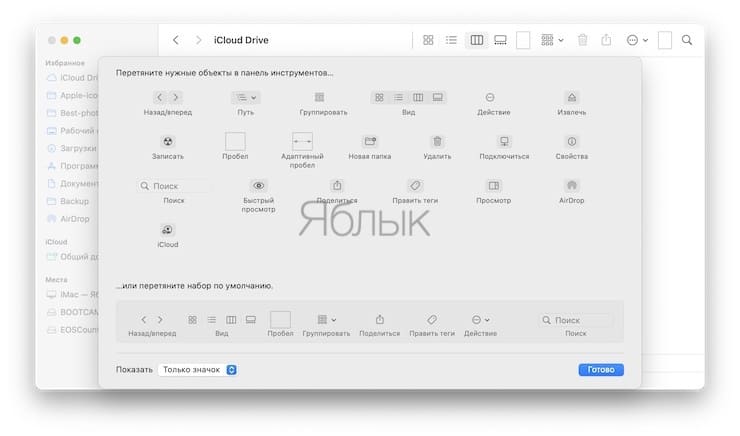
Adding a button to the toolbar is very easy – just drag it to the right place.
The user can also add empty fields, presented in two forms – with variable and fixed width.
So, a few buttons that may come in handy on the toolbar:
“Action”: “Action” is included in the set of default buttons and is a context menu, which can also be called by clicking on the selected element with the right mouse button. Depending on the selected object, the menu offers different options for dealing with it.
“View”: This button allows you to change the appearance of the open Finder window. Users who are quite satisfied with the appearance of windows can remove it, thereby freeing up space on the toolbar.
“Share”: Button “Share” allows you to quickly send an item selected in the Finder via email or through the application “Messages” etc. This function is also called by pressing the right mouse button, but if you use it often, it is much more convenient to have a separate button on the toolbar.
“Edit Tags”: This button greatly speeds up the process of adding and editing tags in the Finder.
When the desired buttons are selected, you need to click on “Ready”. The user can also set how they will be displayed – in the form of an icon, text or an icon with text.
BY TOPIC: Launchpad on Mac: what it is and how to set it up so that you want to use it.
Quick access to applications, files and folders
In addition to buttons, you can add applications, folders, and files to the toolbar, thereby providing yourself with quick access to them. To do this, press and hold the key Command (⌘) and drag the required object to the toolbar.
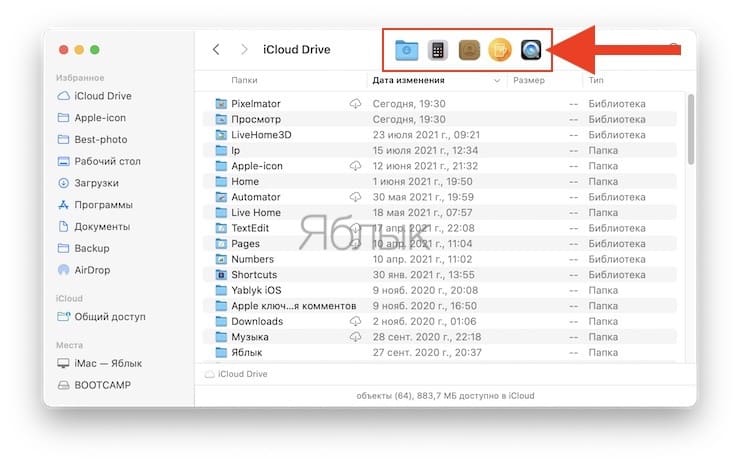
The presence on the panel of a frequently used application is very convenient. It is much easier to drag the desired file to the program icon on the toolbar than, say, to the Dock, which is located much further away.
See also:
.
The post How to Customize the Finder Toolbar on Mac (macOS) appeared first on Gamingsym.