
Step-by-step instruction.
This is a guide that we have prepared together with the aggregator spare parts for phones 4Mobile.ru will help you replace battery on OnePlus 8T.

If the battery is swollen, take appropriate precautions. To be safe, discharge the battery below 25% before disassembling the phone. This will reduce the risk of fire if the battery is damaged during repair.
First of all, you will need glue to re-install the components when assembling the device. We recommend using B 7000 or T7000, but you can use any other.
Step 1
Turn off your phone.
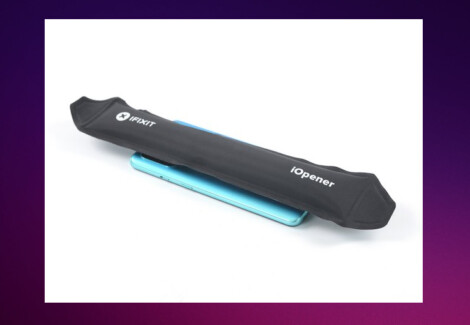
Heat the smartphone on a special mat or a regular household hair dryer to loosen the adhesive under the rear glass. It usually takes at least two minutes for the adhesive to loosen sufficiently.
When using a hair dryer, heat gun or electric stove – be extremely careful not to overheat the phone – the display and battery are susceptible to heat damage.
Step 2
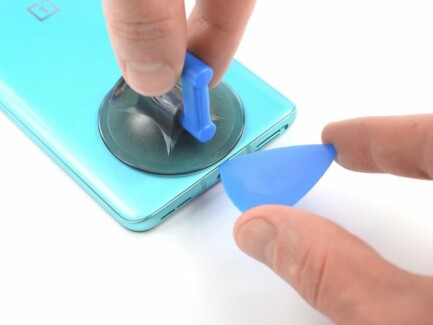
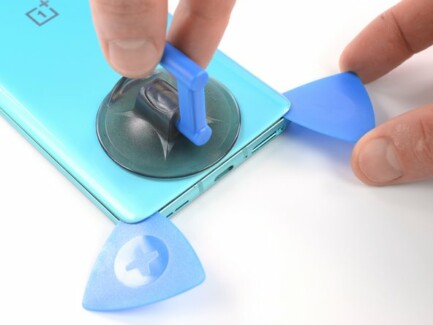
Attach the suction cup to the back of the phone as close to the center of the bottom edge as possible.
If the back cover is cracked, the suction plane may not stick. Try prying up the suction cup with strong tape or superglue the handle in place and let it dry to continue.
Pull on the suction cup to create a gap between the rear glass and frame.
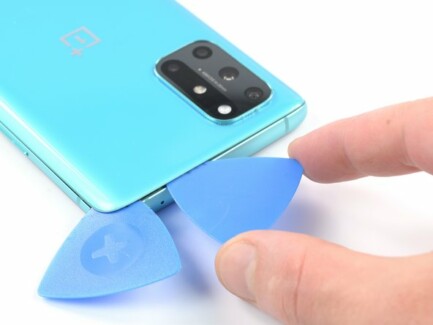
Insert the tip of the opening tool into the resulting gap and slide it to the lower left corner.
Leave the opening tool in place to prevent the adhesive from resealing.
Step 3
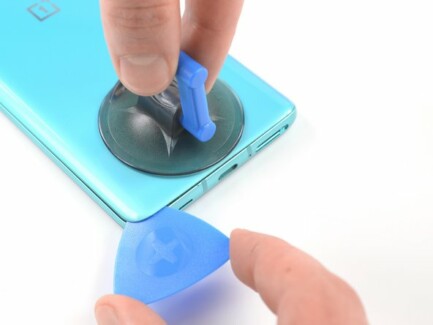
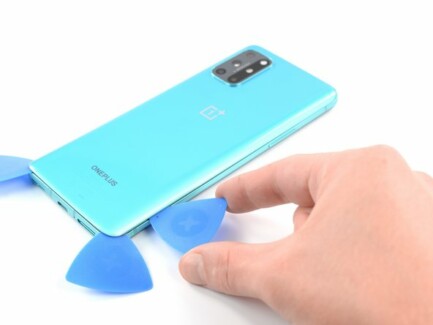
Insert the second opening tool at the lower left corner.
Slide the opener along the bottom edge to the lower right corner.
Leave the opening tool in place to prevent the adhesive from resealing.
Step 4
If the glue has become difficult to cut, most likely it has cooled down. So you need to warm up the smartphone again.
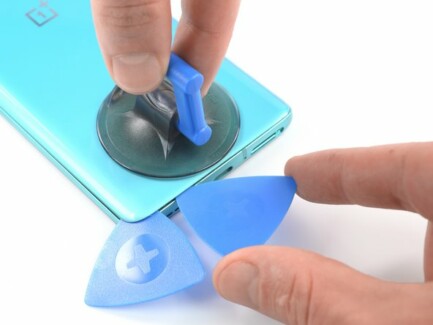
Insert another opener (or pick) under the lower right corner.
Slowly slide the tool along the right edge of the OnePlus 8T to the top corner.
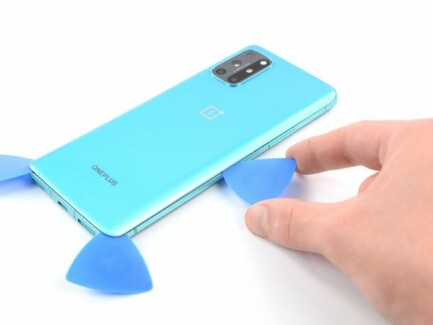
Leave the openers in their places. The glue will inevitably dry up again, and you don’t want to heat up your smartphone again, do you?
Step 5
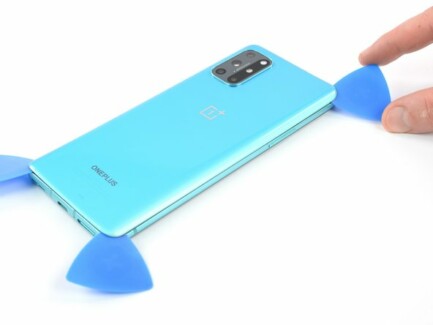
Insert the fourth opening tool under the top right corner of the OnePlus 8T smartphone.
Slide it along the top edge to the top left corner to cut off the adhesive.
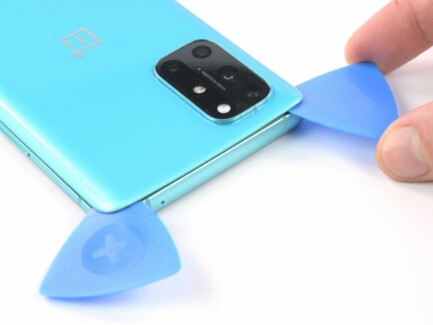
Leave the opening tool in place to prevent the adhesive from resealing.
Step 6
Insert the fifth opening tool under the top left corner of the OnePlus 8T smartphone.
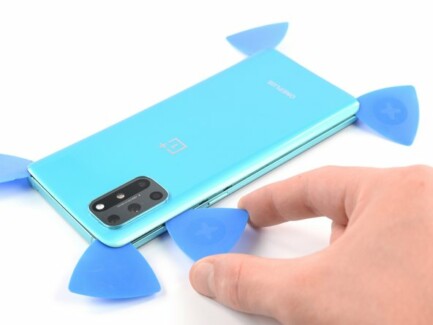
Slide the opening tool along the left edge to the bottom left corner of the smartphone to cut away any remaining adhesive.
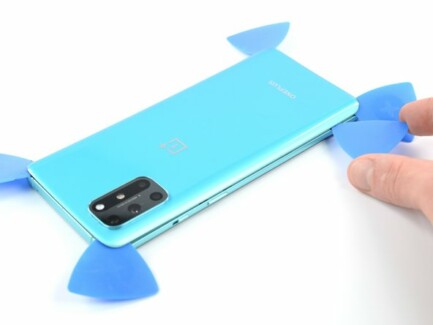
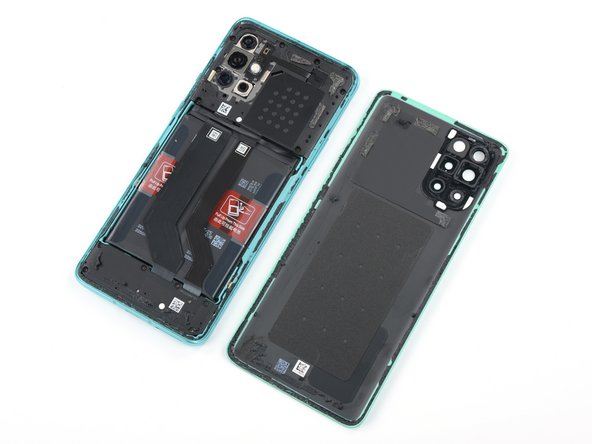
Step 7
Remove the back glass from OnePlus 8T.
After installing the back cover of the smartphone, put something heavy on it. Something that will create constant pressure and leave the OnePlus 8T for a few minutes. A stack of heavy books will do.
Step 8
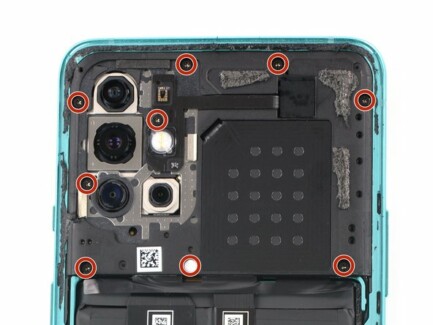
Use a screwdriver to remove the nine 3.8mm screws holding the OnePlus 8T motherboard cover.
Step 9
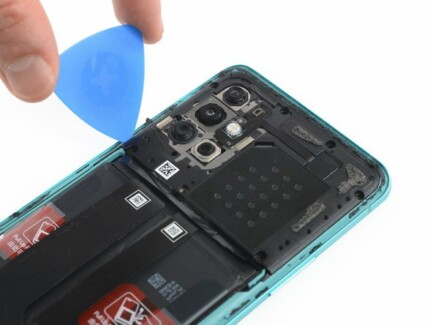
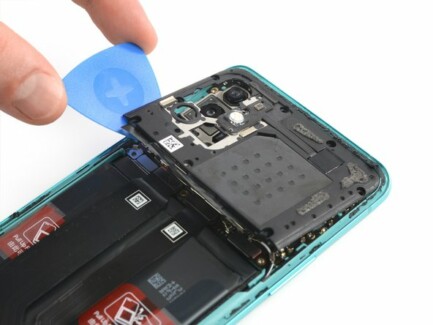
Insert the tip of the opener under the lower left corner of the OnePlus 8T cover.
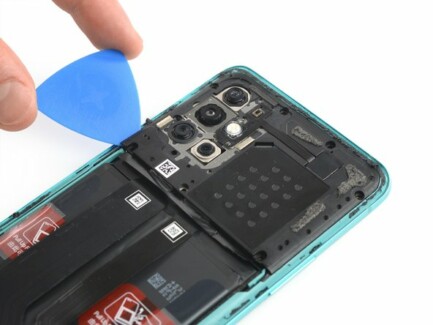
Use a pick to lift it up and release the plastic tabs holding it in place.
Step 10
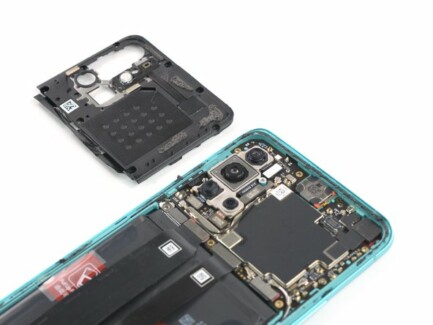
Remove the OnePlus 8T motherboard cover.
Step 11
Use a plastic spatula to detach the OnePlus 8T battery by pulling the plate out of the socket.
Step 12
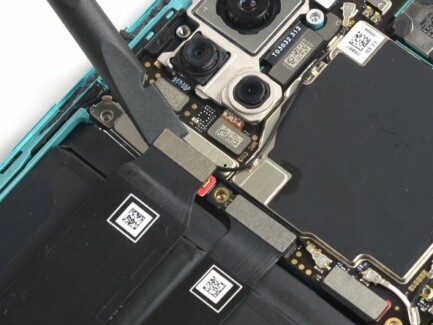
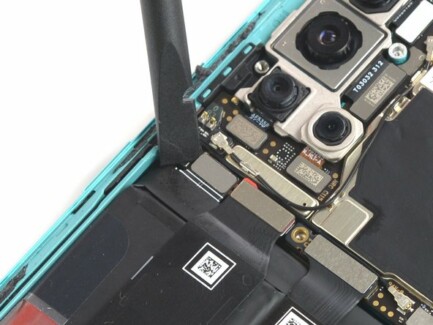
Use the flat end of a spatula to remove the two cables covering the OnePlus 8T battery.
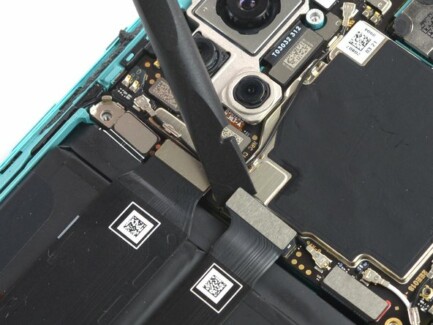
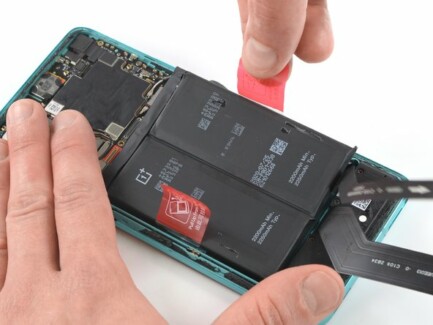
Step 13

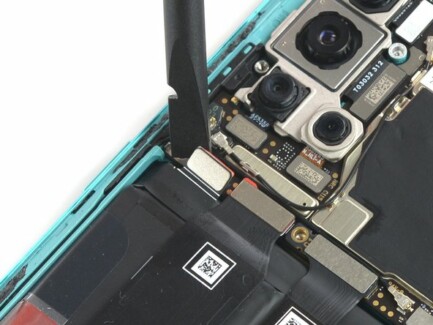
Bend the two cables towards the bottom of your smartphone so they don’t get in the way of the OnePlus 8T’s battery.
Be careful: don’t bend the lines!
Step 14
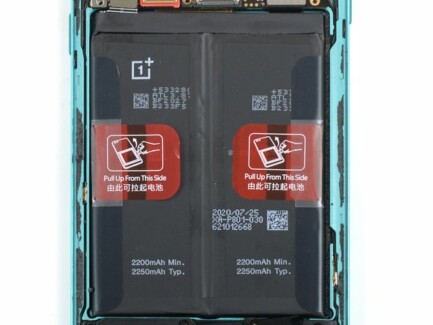
Peel back the red tab and black sticker from the left edge of the OnePlus 8T battery.
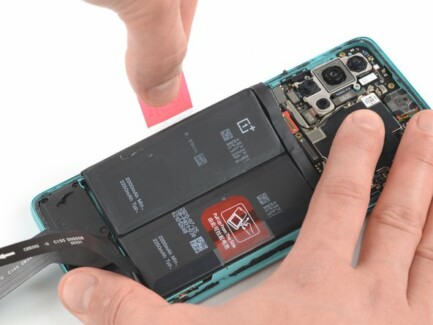
Slowly pull the tab up with a little force to separate the OnePlus 8T battery from the adhesive holding it in place.
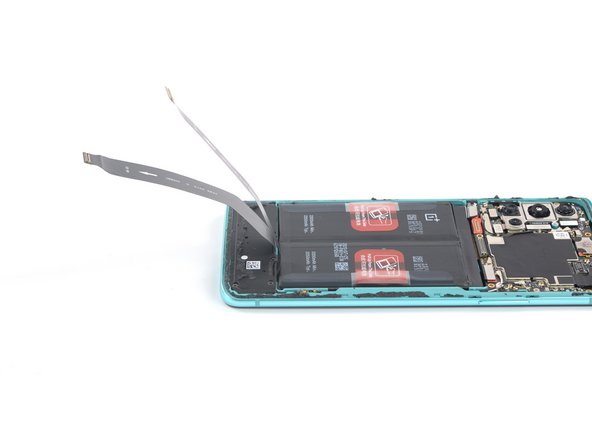
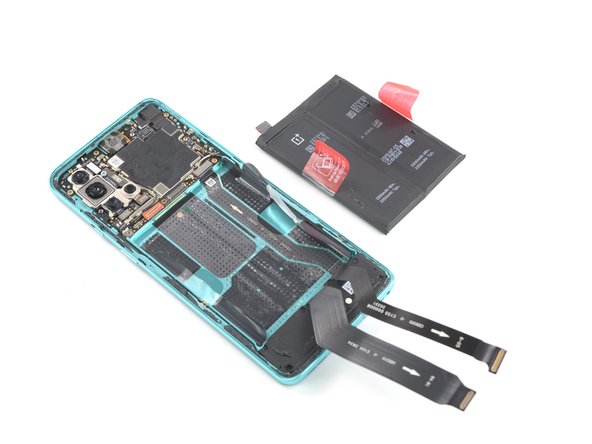
Step 15
Remove the OnePlus 8T smartphone battery.
Step 16
Reverse the procedure by inserting a new battery into your OnePlus 8T smartphone.
Conclusion
If possible, check the performance of OnePlus 8T “on the weight”, i.e. without fixing or twisting anything. It is often very useful to find out whether you initially used a non-working spare part or made a mistake somewhere at the installation stage.
Secure the new OnePlus 8T battery with pre-cut adhesive or double-sided tape. To properly position it, apply the new adhesive to the device where the old adhesive was, not directly to the battery. Insert the new OnePlus 8T battery firmly into place.
To assemble the device, follow these instructions in reverse order. If necessary, apply new adhesive after cleaning the affected areas with isopropyl alcohol (>90%).
For optimal performance, calibrate your newly installed OnePlus 8T smartphone battery by charging it to 100% and continuing to charge for at least 2 more hours. Then use the device until it turns off due to low battery. Finally, charge it continuously up to 100%.
Please be responsible and take e-waste to reception point for processing.
 Follow us on Telegram, In contact withand Yandex.Zen.
The post OnePlus 8T battery replacement appeared first on Gamingsym.